Also known as stop-motion photography, Photoshop makes it easy to create GIFs with your photographs. Follow below for a step-by-step guide to using the Timeline feature in Photoshop to create your own GIFs.
Creating a GIF
When taking pictures for a GIF, it’s best to use a tripod to keep the images steady. This will help make the transitions appear seamless. By setting your camera to continuous shooting, you can capture the movements within a set amount of time. RAW images will be better overall, but jpegs can also be used.
- Open all images you want to use in Photoshop

2. Using the Layers tab, stack the images into a new layer for each photo. I usually drag the image from my other tabs and drop into one tab.
*Make sure your first layer is unlocked, and not a Background layer. (Layer 0)

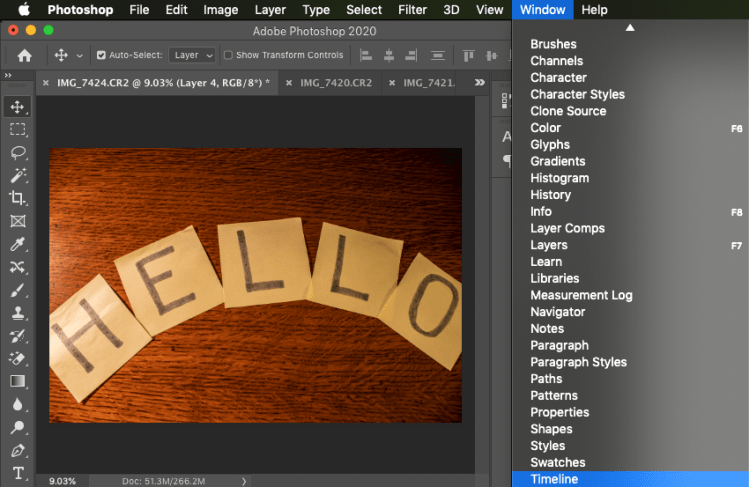
3. Go to Window > then select Timeline. A ribbon will appear beneath your photo.
4. Select Create Frame Animation.
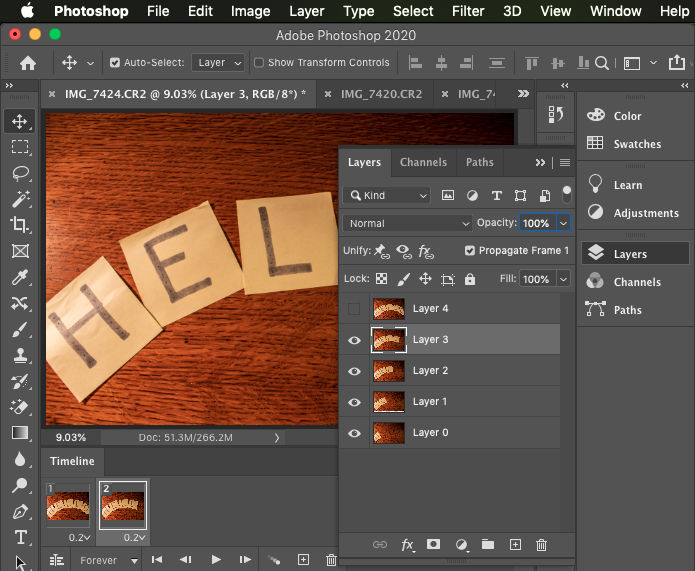
5. In the Timeline ribbon, select the box with the plus sign ‘Duplicates selected frame’.

6. After you duplicate the slide, hide the top-most layer. Repeat this process for every new frame created until you get to your last layer.
*If you’d like to start with your first layer, hide all layers first and then unhide them when each new frame is created.
7. Once all your frames are created, select the drop-down arrow next to the seconds to change the amount of time each frame will be active. The default time is 0 seconds.
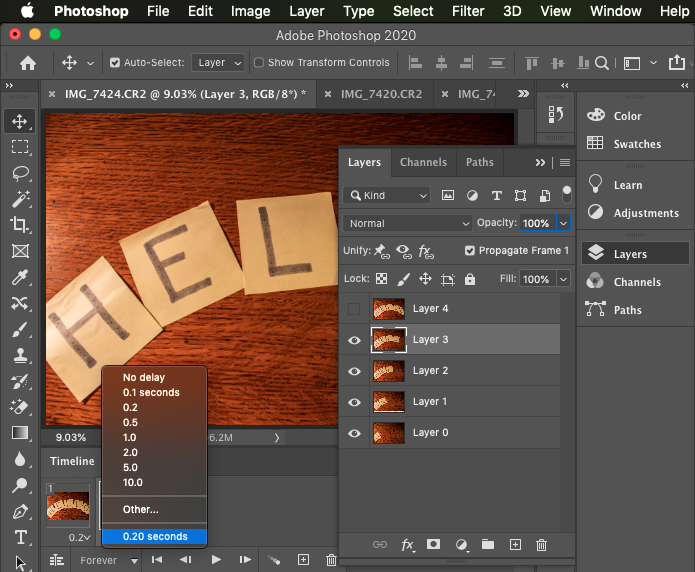
* For my Hello GIF, I made each frame 0.2 seconds, then made the last frame with the ‘O’ 0.5 seconds to create a little lapse before it goes back to the ‘H’.
8. After changing the time, press the play button to preview your GIF.
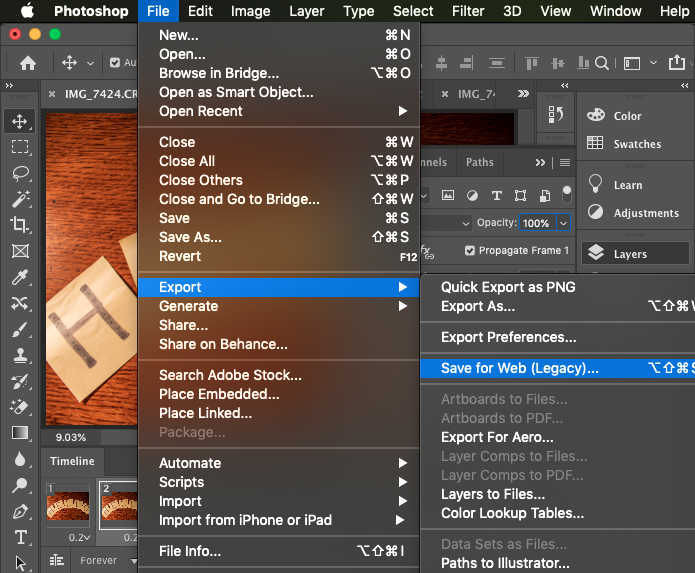
9. Once you have the outcome you wish, you can export your GIF by selecting:
File > Export > Save for Web
10. In the exporting dialogue box, make sure your settings are:
- GIF, not JPEG
- Colors are set at 256 for maximum amount of quality
- Convert to sRGB is selected for better quality online
- Looping Options is set at Forever

11. Your image size presets will be too large and create a poor-quality GIF. I like to keep my settings at a minimum of 600px for width and 400px for the height. You may want to experiment these numbers to get your best outcome.

12. Then it’s time to share! You’ve created a GIF with photographs!


