
HDR stands for “High Dynamic Range” imaging. Referring to the level of light in a photo, HDR photos have very deep shadows and highlights.
You may have seen this term while taking pictures on your phone. Like some higher-tech cameras and phones, HDR photos can be taken and processed on the device. For other photographers, HDR photos are needed to be manually merged.
Fusing together three photos of the same scene set at different exposure levels, HDR photography creates a photo that has all the dynamic ranges of light.
Shooting in HDR
Depending on your camera, there are many different options and shortcuts to getting into HDR mode. For my Rebel T6 Canon in manual mode, I can access my exposure levels by hitting the ‘Q’ button and the ‘Exposure comp. /AEB settings’ will become highlighted. By using the dial, two more ticks will appear moving in opposite directions. This is called “bracketing”, and many cameras have this built-in bracketing tool.
When shooting an image, the camera will take three photos. The first photo will be the mid-range exposure, then the highlights, and the final one being the shadows. If shooting on a timer, the camera will automatically take three photos. Many photographers also take up to five or seven exposures instead of three. As long as your exposures are at equally opposite stops from each other, then you’ll be able to process the photos to create an HDR. (-1, 0, +1) or (-2, 0, +2)

*To distinguish between each set, I like to take a picture of my feet or hands. This way, I won’t accidentally delete one of the under or over-exposed images.
HDR Processing – Photoshop
Opening the HDR RAW files in Photoshop Camera Raw, select the files and then click on the three dots for more options. Towards the bottom of the drop-down menu, Merge to HDR will appear. Photoshop will bring up a preview of the merged HDR once loaded.
For more advanced adjustments, opening the files in Photoshop and going to File > Automate > Merge to HDR Pro will allow you to edit the HDR photo with curves, color, and different filter presets.
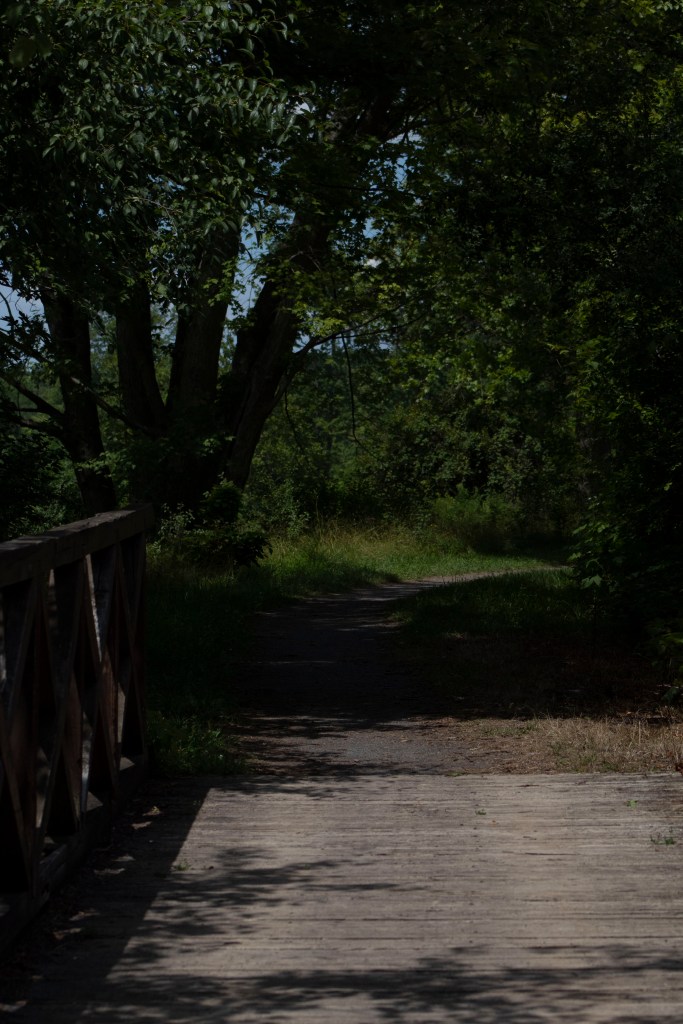
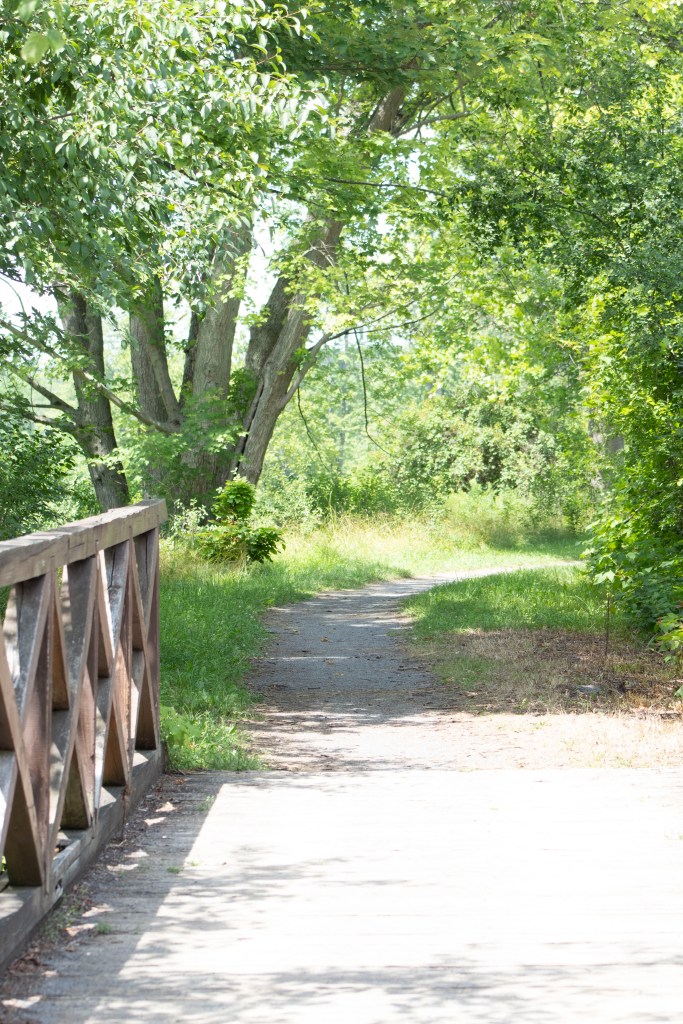
When shooting, using a tripod is best, as ‘ghosts’ might appear during processing from movement. Avoid this by shooting subjects that are not fast-moving or altering the photo during processing. On Photoshop and Lightroom, deghosting features are an option, as seen in the two pictures below.

Subjects for HDR
As mentioned above, moving subjects can be hard to capture for an HDR photo. It is best to pick scenes void of movement. Use a tripod!
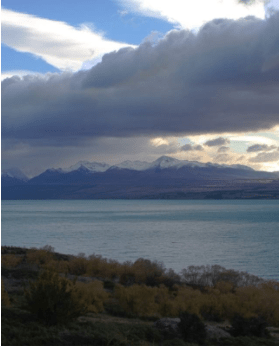
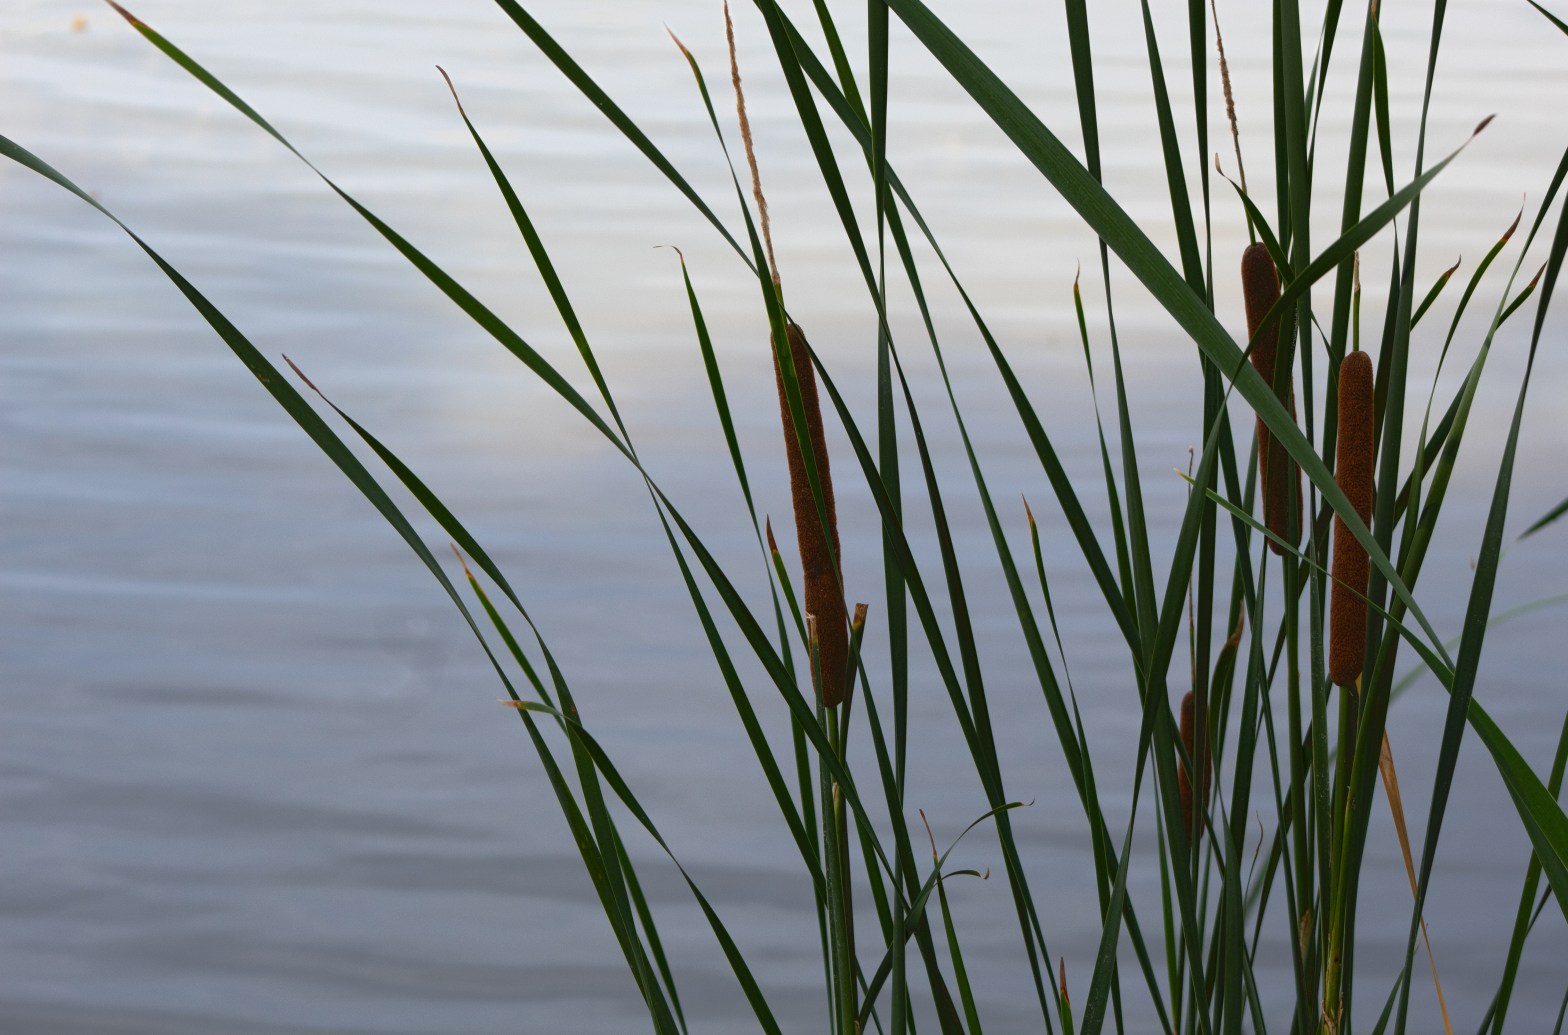
Pick scenes with high differences in light. As HDR means high dynamic range, places with drastic changes in light will benefit the most from creating an HDR image.
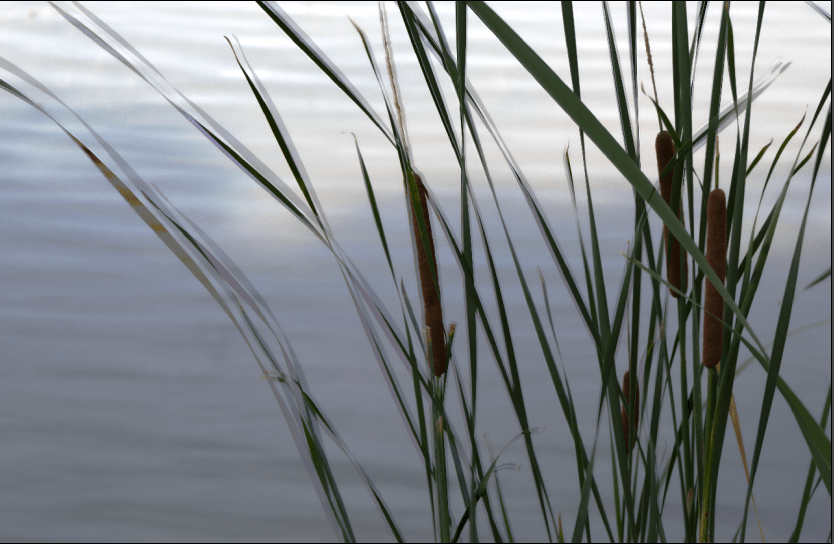
Nature scenes with mountains, greenery, and plenty of sky are my favorites for HDR images. The colors of a sunset or sunrise can really benefit from combining the different exposure levels.